Thinset is a type of adhesive used in tiling projects, and it can be a challenge to remove if it gets on your wooden floor. But don’t worry – removing thinset from a wooden floor isn’t as hard as it seems, and with the right tools and techniques, you can get rid of it in no time. I’ll be walking you through everything you need to know about removing thinset from a wooden floor.
Removing Thinset From a Wooden Floor
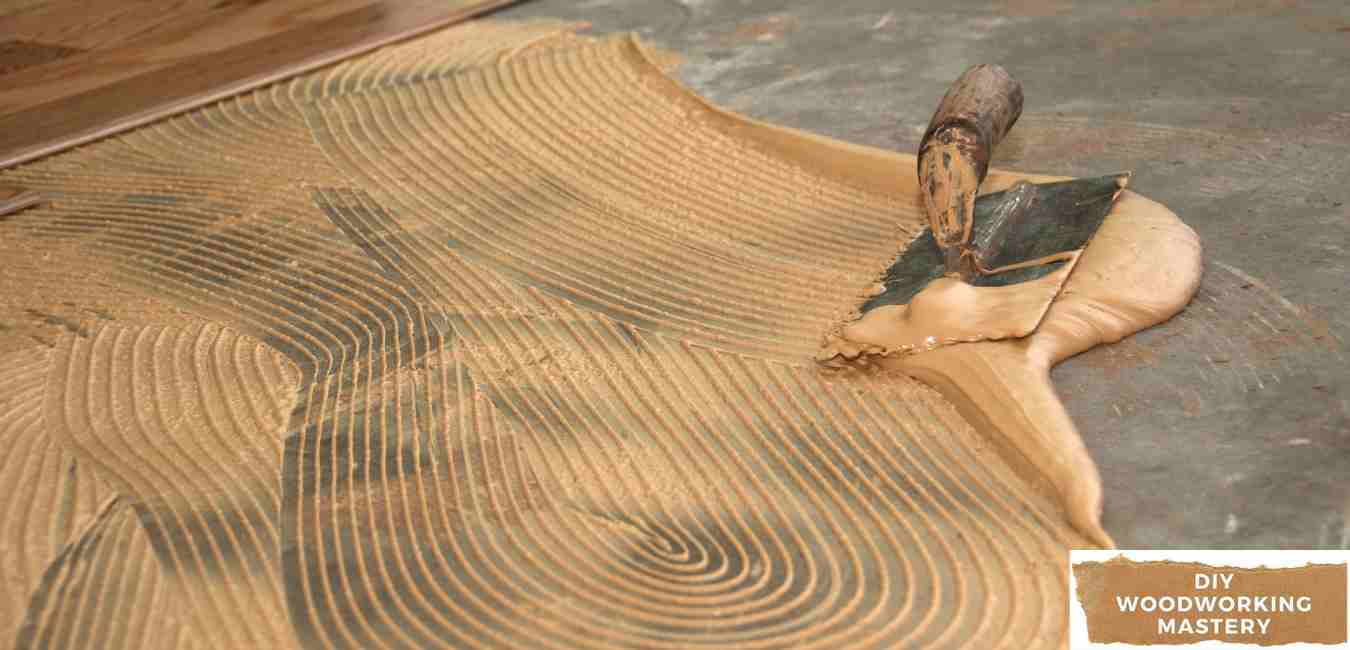
If you’ve ever done a tiling project, you know that thinset is an essential part of the process. Thinset is an adhesive that’s used to secure tiles to the floor. It’s made up of a combination of sand, cement, and polymers, and it’s designed to be extremely durable and long-lasting.
Unfortunately, thinset can be tricky to remove if it gets on your wooden floor. You need the right tools and techniques in order to get rid of it without damaging your floor.
Understanding Thinset
Before you can start removing thinset from your wooden floor, it’s important to understand what thinset is and how it works. Thinset is a type of adhesive that’s used in tiling projects. It’s made up of a combination of sand, cement, and polymers, and it’s designed to be extremely durable and long-lasting. Thinset is also waterproof and resistant to heat and cold, which makes it ideal for tiling projects in bathrooms and kitchens.
Thinset is typically applied to the back of the tiles before they’re placed on the floor. It’s also applied to the floor itself to ensure a strong bond between the tiles and the floor. Once the thinset has been applied, it needs to be allowed to dry before the tiles are placed.
Unfortunately, thinset can be tricky to remove if it gets on your wooden floor.
It’s designed to be durable and long-lasting, so it’s not as easy to remove as other types of adhesive. That’s why it’s important to know the right tools and techniques to use when removing thinset from a wooden floor.
The Tools Needed to Remove Thinset
Removing thinset from a wooden floor requires the right tools. Here are the tools you’ll need for the job:
• A putty knife
• A heat gun or hair dryer
• A utility knife
• A vacuum cleaner
• A stiff-bristled brush
You’ll also need some safety equipment, such as safety glasses and a dust mask. It’s important to wear these items when removing thinset to protect yourself from any harmful particles.
Step-by-Step Guide to Removing Thinset
Now that you have the right tools and safety equipment, it’s time to start removing the thinset from your wooden floor. Here’s a step-by-step guide to removing thinset from a wooden floor:
1. Start by using a putty knife to scrape away as much of the thinset as possible. Be sure to wear safety glasses to protect your eyes from any flying particles.
2. Once you’ve removed as much of the thinset as you can with the putty knife, use a heat gun or hair dryer to heat up the remaining thinset. This will soften the thinset and make it easier to remove.
3. Once the thinset is softened, use a utility knife to cut it away from the wooden floor. Be careful not to damage the floor while you’re cutting.
4. Vacuum up the pieces of thinset that you’ve removed.
5. Use a stiff-bristled brush to scrub away any remaining thinset. This will help to remove any stubborn pieces of thinset that are still stuck to the floor.
6. Once you’ve removed all of the thinset, vacuum the floor again to pick up any remaining pieces.
Tips for Removing Thinset Efficiently
Removing thinset from a wooden floor can be a time-consuming process, but there are a few things you can do to make the job go faster. Here are some tips for removing thinset efficiently:
Start by using a putty knife to scrape away as much of the thinset as possible. This will help to speed up the process and make it easier to remove the remaining thinset.
Make sure to use a heat gun or hair dryer to heat up the thinset before you start cutting it away. This will make it much easier to remove the thinset without damaging the wooden floor.
Be careful when you’re using a utility knife to cut away the thinset. It’s easy to damage the floor if you’re not careful.
Vacuum the floor regularly to pick up any pieces of thinset that you’ve removed. This will help to speed up the process and make it easier to remove the remaining thinset.
Use a stiff-bristled brush to scrub away any remaining thinset. This will help to remove any stubborn pieces of thinset that are still stuck to the floor.
Alternatives to Removing Thinset
If you don’t want to remove the thinset from your wooden floor, there are a few alternatives to consider. One option is to cover the thinset with a layer of wood flooring. This will help to hide the thinset and make it less noticeable.
Another option is to use a thinset remover, which is a chemical solution that’s designed to break down thinset. These chemicals can be effective in removing thinset, but they can also be dangerous to use.
Cleaning and Maintaining Your Wooden Floor After Removing Thinset
Once you’ve removed the thinset from your wooden floor, it’s important to clean and maintain it properly. Start by vacuuming the floor to pick up any remaining pieces of thinset.
Then, use a wood floor cleaner to deep clean the floor and remove any residue. Finally, use a wood floor wax to protect the floor and make it shine.
In Summary
Removing thinset from a wooden floor isn’t as hard as it seems, and with the right tools and techniques, you can get rid of it in no time. Make sure you have the right tools and safety equipment, and follow the step-by-step guide to remove the thinset efficiently.
Finally, clean and maintain your floor properly to keep it looking its best. If you need help removing thinset from your wooden floor, don’t hesitate to reach out to a professional.
Removing thinset from a wooden floor can seem intimidating, but it doesn’t have to be. With the right tools and techniques, you can get rid of thinset quickly and efficiently. So don’t hesitate – get started today and get rid of thinset on your wooden floor the easy way!