The blade of a saw needs to be sharpened regularly, as it gradually wears out with each cut. This task is not really easy to accomplish. However, it will prevent you from repeatedly buying a new blade.
This guide will show you how to sharpen a miter saw blade with ease.
Blades that can’t be sharpened
Blades made of hardened steel cannot sharpen. They are among the strongest and easily cut materials such as wood and other light alloys. Their quality is also accompanied by a higher price.
Once they are worn out, the only alternative is to replace them. However, a few solutions are available in an attempt to extend their lifespan.
For example, it is recommended to use the right type of teeth on the materials to be cut to avoid accelerating the premature wear of your blades. For example, to cut reclaimed lumber from a construction site that may contain nails, a nail-cutting tooth blade is ideal.
As for the hardness of the materials you are working on, hardened steel is believed to be able to cut through the toughest bodies. However, use your blade only on the recommended materials.
Also be aware that even if you only work with soft materials, your blade will not stay sharp forever.

How to Sharpen Your blades
Blades made of unhardened steel or made of carbide are the ones that can sharpen. The notations on the blade indicate the material from which it is made. The carbide is denoted C, C1, C2, the tungsten carbide is denoted TCT, the high carbon steel AHC.
In general, the blades that saws are initially equipped with when they are purchased are mid-range and made from one of these materials. They therefore wear out quickly and require sharpening in order to extend their use.
You have the choice of either doing the sharpening yourself with hand tools or having a professional do it for you using a special machine. To perform this task on your own, you will need a few tools.
You will need a third point, an oil stone, a round file and a diamond stone. You can, however, be satisfied with a diamond file, as this one can quite do all the necessary steps of sharpening. In addition, this tool is available at low cost on the internet.
Once you have the right tools in hand, you can start by removing your blade. Refer to your user manual during this step. Modern models have a system that makes it easy to remove the blade.
For older devices, a wrench may be needed to unscrew the bolts that secure the blade. Then clean your blade, as the presence of impurities on it could interfere with sharpening. Use a cleanser and a brush to do this.
How Do You Sharpen a Miter Saw Blade by Hands?
As soon as you have removed the blade, clamp it in a vise and put the blades in front of you. Place marks on the blade to help you differentiate the parts to be treated. Then start with leveling. This step is to put the teeth at the same height. Use a file on the tip of each of the teeth to equalize their height.
Then comes the stage of the travel. It consists of adjusting the distance between each tooth. It can be done using a pliers, calibrated according to the parameters of the teeth of the blade. If you don’t have this kind of tool, you can use a flathead screwdriver. Insert it between the teeth then turn gently to the left then to the right to create a space. Do this on one side of the blade before moving to the other side.
After these adjustment steps, you can move on to the actual sharpening. For this, you can use a third point which is a triangular blade that you can tilt to the desired angle. File the bevels up and down until the blade becomes sharp.
For the saw knife, the third point will be replaced by a round file. Depending on the type of teeth, you will need to sharpen one, two or three faces.
For example, for universal teeth, you will only need to sharpen one side. For reverse teeth, you will need to file three faces, i.e. the front, back and tip bevel. After sharpening, all you have to do is put the blade back in place. A good miter saw should always have sharp blades.

How To Sharpen a circular saw blade with a grinder
If all these steps seem complicated to you, all you have to do is get in touch with a professional. This type of service costs at least 10 euros. The price may vary depending on the number of teeth, as each of them will require precise sharpening.
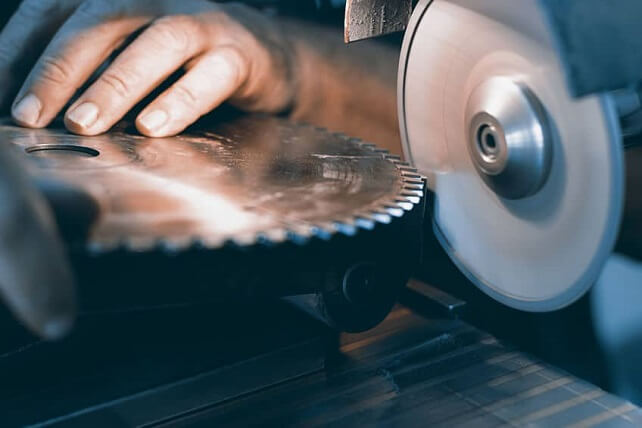
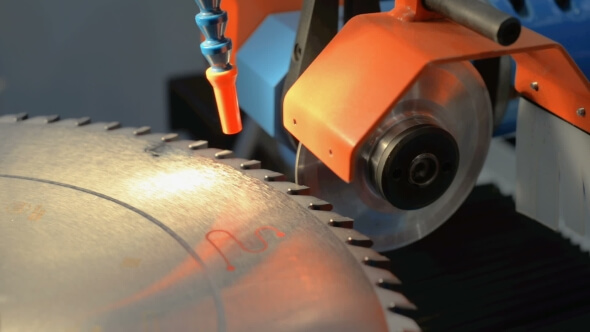
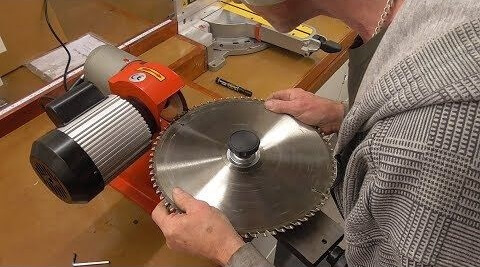
If you do frequent sharpening, the best solution is to invest in a sharpener. This type of tool allows precise sharpening with minimal effort. All you have to do is set up the machine. Some models have a long-life diamond wheel, which can be used multiple times for this purpose. Special supports to reduce vibrations may also be present. Bore adapters will allow them to fix the blade, regardless of its type. However, you will need to ensure that your blade diameter meets the sharpener specifications. The quality of the work done may vary depending on the model.
However, even if the end result does not equal the work of a professional, the benefit of saving time will be considerable. Indeed, you will be able to proceed immediately with the sharpening without having to move. However, you must choose your sharpener carefully to avoid having to make any modifications to it in order to adapt it to your uses.
Entry-level models are often available around $100. They work in a less precise way and are less robust. The more sophisticated models can reach $400 and more. They are not always easier to use, however. On the other hand, they are more stable and offer a satisfactory sharpening quality. However, you will need to use them more often for there to be a real return on investment.
